Taking charge of your reproductive health is a fundamental aspect of self-care and well-being. Planned Parenthood, a trusted provider of reproductive healthcare services, offers an innovative tool to help you manage your health information conveniently and securely: My Planned Parenthood Chart. This patient portal empowers you to access your medical records, schedule appointments, and communicate with your healthcare providers—all from the comfort of your own home. In this guide, we’ll walk you through the simple steps to navigate My Planned Parenthood Chart effectively.
MyChart Planned Parenthood Login Guide
Step 1: Accessing the My Planned Parenthood Chart Portal
To get started, open your web browser and navigate to https://www.myplannedparenthoodchart.org/MyChart/Authentication/Login. This is the login page for My Planned Parenthood Chart. If you’re a first-time user, you’ll need to sign up for an account. Simply click on the “Sign Up Now” button and follow the prompts to create your account. You’ll need your personal information and a valid email address to complete the registration process.
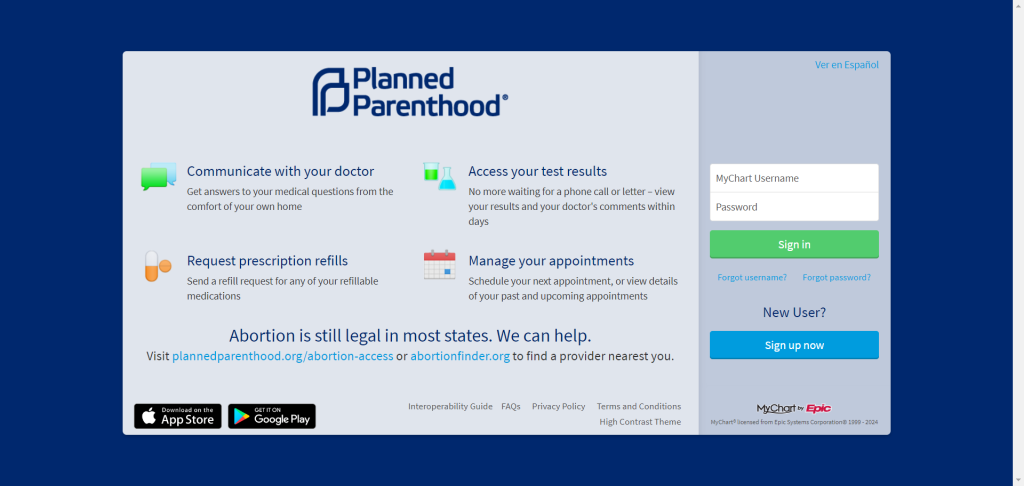
Step 2: Logging In to Your Account
Once you’ve created your account, return to the login page and enter your username and password in the designated fields. Then, click on the “Sign In” button to access your My Planned Parenthood Chart account. If you forget your username or password, don’t worry—there are options to retrieve or reset them directly from the login page.
Step 3: Exploring the Dashboard
After logging in, you’ll be greeted by the My Planned Parenthood Chart dashboard. This is your central hub for managing your healthcare information. Take some time to familiarize yourself with the various features and options available on the dashboard. You’ll find tabs for viewing your medical records, scheduling appointments, messaging your healthcare providers, and more.
Step 4: Viewing Your Medical Records
One of the key benefits of My Planned Parenthood Chart is the ability to access your medical records online. To view your medical history, click on the “Medical Records” tab on the dashboard. Here, you’ll find a comprehensive summary of your past appointments, test results, medications, and other relevant health information. You can review this information at your convenience and stay informed about your reproductive health status.
Step 5: Scheduling Appointments
Need to book an appointment for a check-up, birth control consultation, or STI screening? My Planned Parenthood Chart makes appointment scheduling a breeze. Simply click on the “Appointments” tab on the dashboard and follow the prompts to request an appointment. You can view available time slots, select your preferred date and time, and even specify the reason for your visit. Once your request is submitted, a member of the Planned Parenthood team will confirm your appointment via email or within the portal.
Step 6: Messaging Your Healthcare Providers
Have a question for your healthcare provider or need to request a prescription refill? My Planned Parenthood Chart allows you to communicate securely with your healthcare team through the messaging feature. Click on the “Messages” tab on the dashboard to compose a new message or view existing conversations. You can expect a timely response from your provider, ensuring that your healthcare needs are addressed promptly and confidentially.
Step 7: Managing Your Profile and Preferences
To ensure that your My Planned Parenthood Chart account is up-to-date and personalized to your needs, take advantage of the profile and preferences settings. Here, you can update your contact information, set communication preferences, and customize your notification settings. Keeping your profile current ensures that you receive important updates and reminders regarding your reproductive health.
Step 8: Logging Out Securely
Once you’ve finished managing your healthcare tasks on My Planned Parenthood Chart, it’s essential to log out securely to protect your privacy. Simply click on the “Log Out” button located in the top-right corner of the screen. This will ensure that your account remains secure, especially if you’re using a shared or public computer.
Conclusion: Empowering You to Take Control of Your Reproductive Health
In conclusion, My Planned Parenthood Chart is a powerful tool that empowers you to take control of your reproductive health journey. By following these simple steps to navigate the patient portal, you can access your medical records, schedule appointments, communicate with your healthcare providers, and manage your healthcare preferences with ease. With My Planned Parenthood Chart, managing your reproductive health has never been more convenient or accessible. Take charge of your health today and explore all that My Planned Parenthood Chart has to offer!